You can spend serious money on a Sony projector, quality speakers, a big subwoofer, and a Kaleidescape server, then still end up asking the same question after the first movie night: why does this room sound worse than the demo?
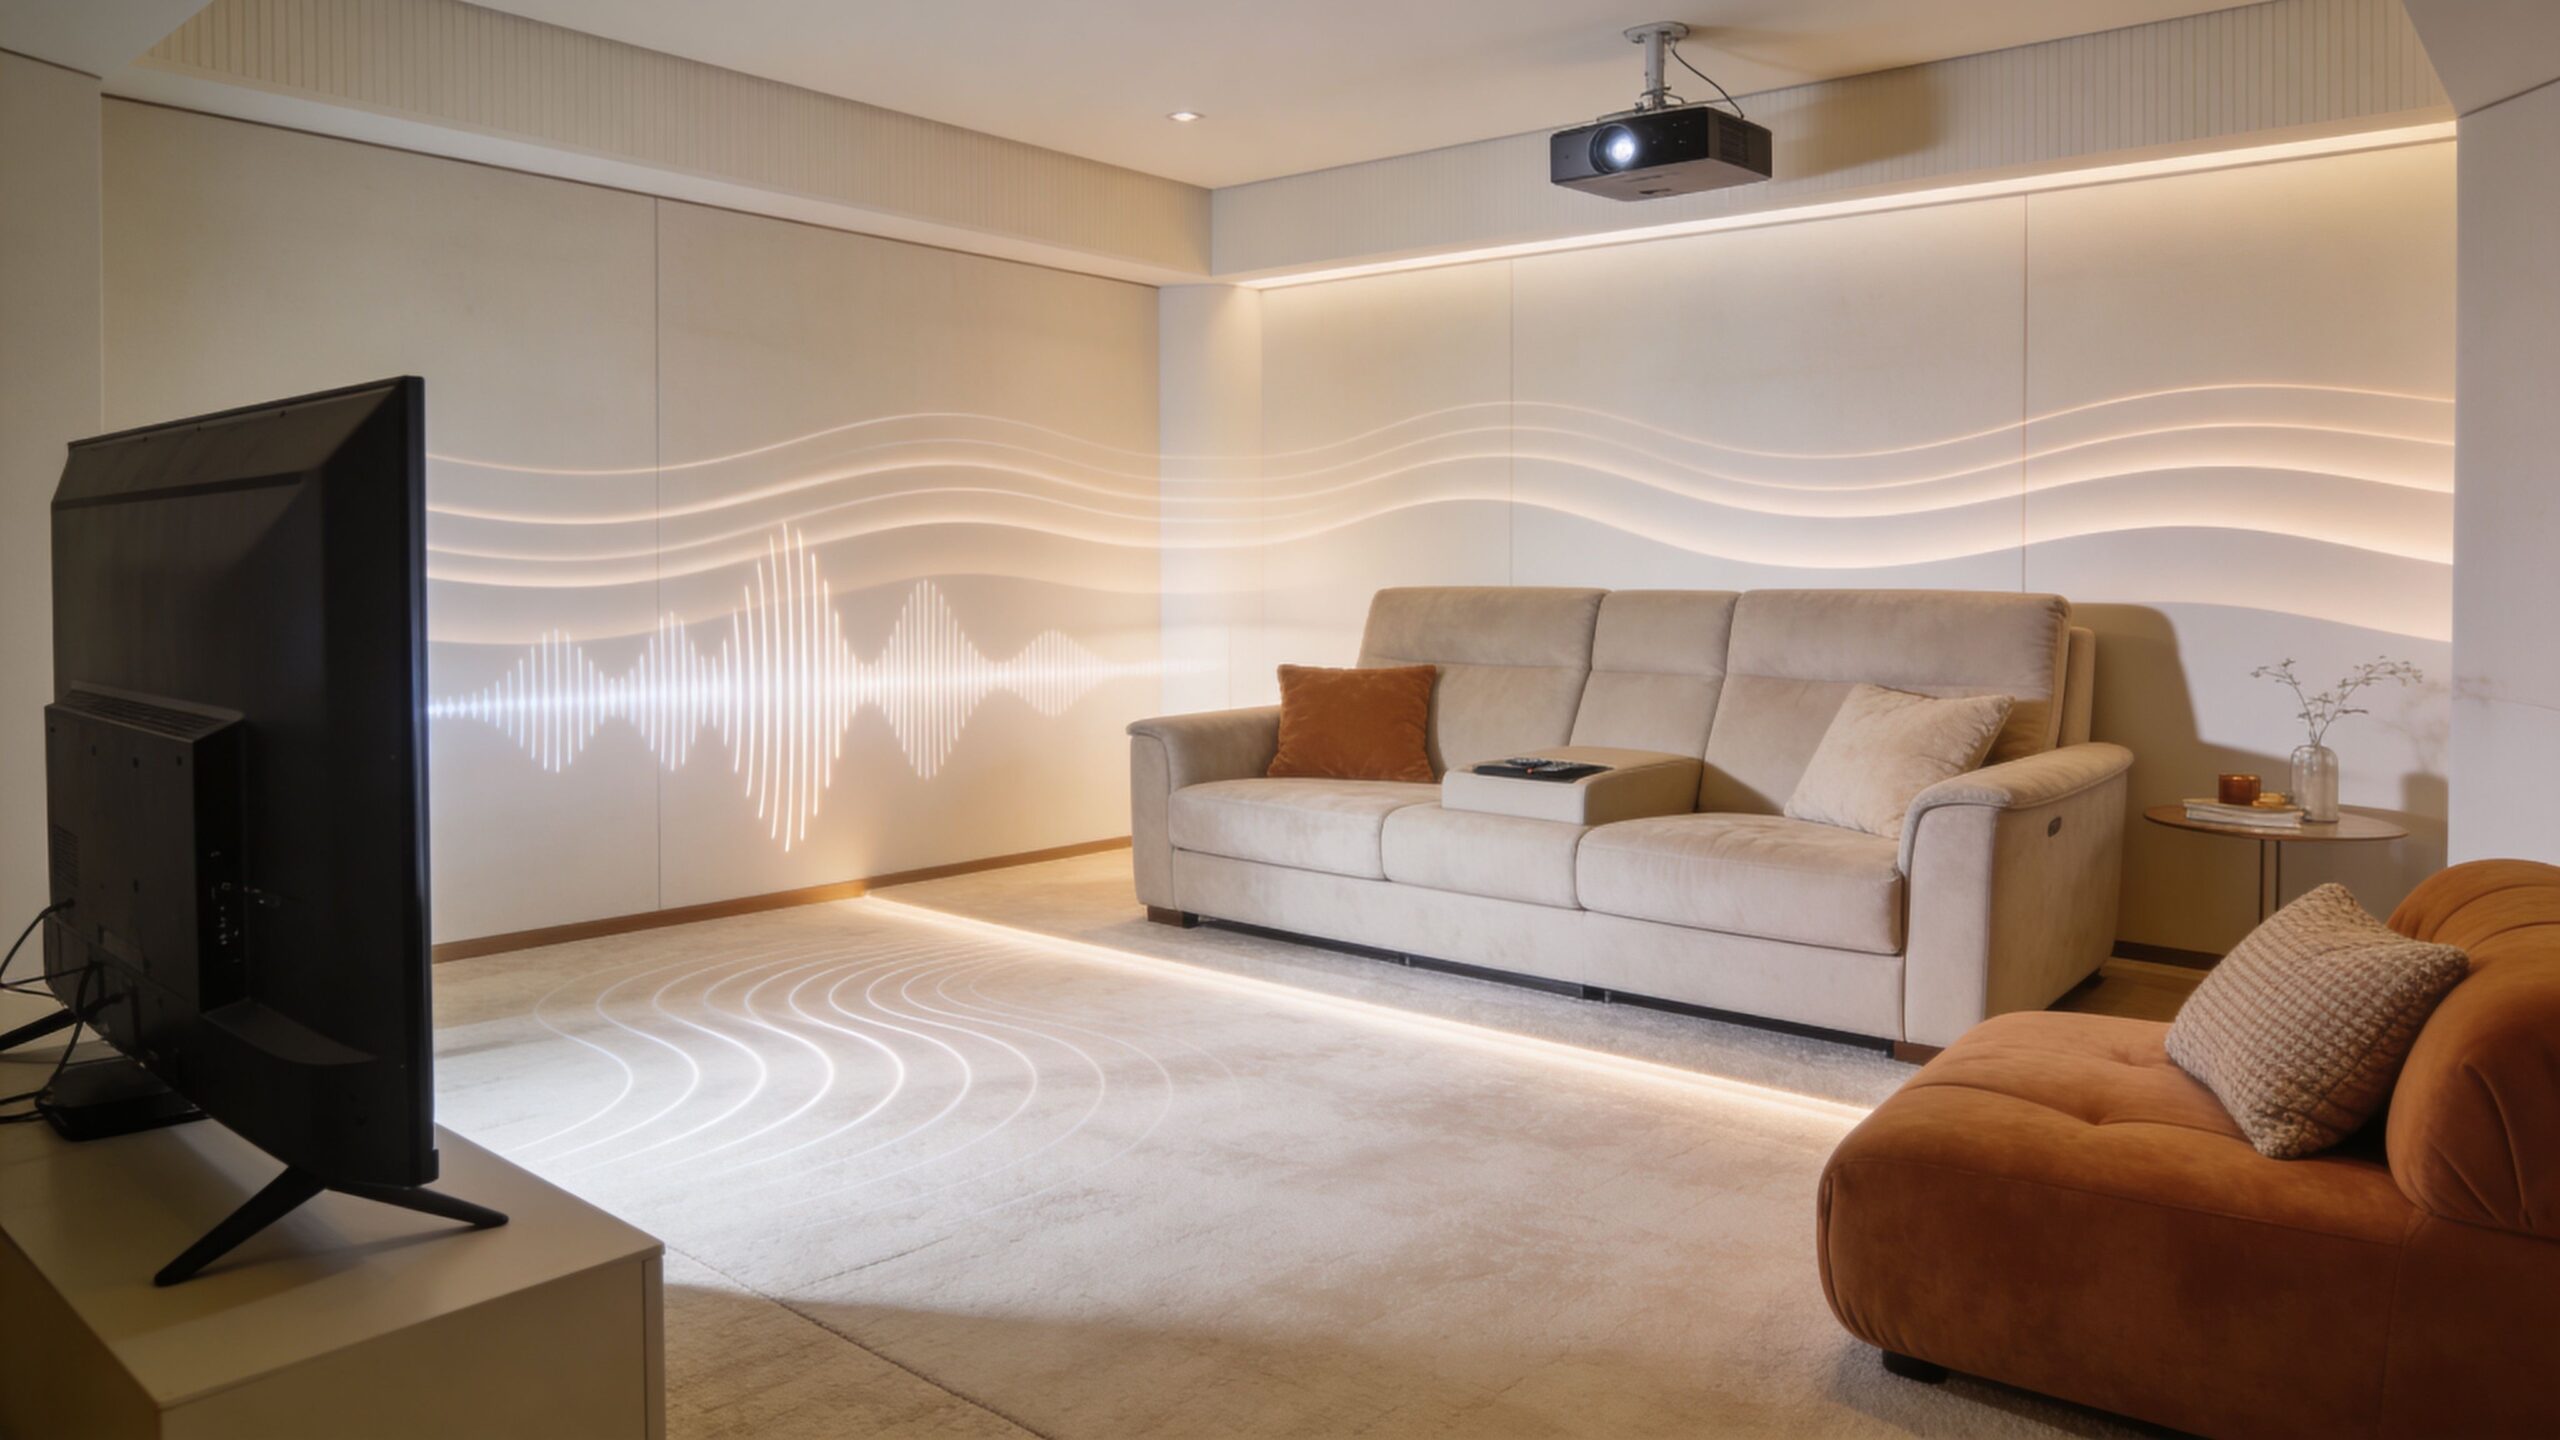
Usually, the room is the problem. Drywall, glass, bare ceilings, hard floors, and even the shape of the space can smear dialogue, exaggerate bass, and flatten the surround effects you paid for. The system isn’t failing. The room is rewriting what the system does.
That’s why acoustic treatment for home theater matters so much in modern smart homes. If you’re already investing in Lutron lighting, Josh.ai control, Sonos zones, Ubiquiti networking, or a full custom media room, acoustics shouldn’t be an afterthought. They’re part of the performance package, just like wiring, calibration, seating layout, and lighting control.
A home theater sounds bad for three main reasons. Reflections arrive too late and blur detail. Bass collects in the wrong places and turns impact into mud. The room either stays too live and echoey, or gets over-treated and loses all energy.
That’s why the three core tools are absorption, diffusion, and bass trapping. Each solves a different problem.
Absorption is the easiest concept to understand. Sound hits a surface and instead of bouncing back hard into the room, some of that energy gets soaked up. Think racquetball court versus library. In one, everything flies back at you. In the other, the room stays controlled.
That control matters because reflective rooms hold onto sound too long. According to Primacoustic’s acoustic treatment data, minimal 15-30% coverage with broadband acoustic treatment can reduce RT60 from 1.9 seconds to the ANSI-recommended 0.7 seconds, while improving speech intelligibility by up to 50% in reflective spaces. That same source notes that concrete walls absorb only 0.01-0.10 across frequencies, which is why untreated rooms often sound harsh on top and muddy on the bottom.
If you’re comparing materials and form factors, looking at purpose-built acoustic panels is a useful starting point because broadband treatment behaves very differently from decorative foam.
A room can be too reflective. It can also be too absorbent.
Diffusion solves that second problem. Instead of swallowing sound, a diffuser scatters it. The effect is less like putting a blanket on the room and more like breaking up a glare. You preserve spaciousness, but lose the distracting slap and repetition that make surround effects collapse.
A theater should sound controlled, not padded.
Many DIY rooms go sideways because people cover large wall sections with soft material, kill the sparkle above the midrange, then wonder why the room feels dull even though the echo is gone. Diffusion is often what restores that sense of depth behind the seating area.
Low frequencies don’t behave like dialogue or high effects. They’re longer, slower, and much harder to control. They pile up in corners, along boundaries, and at room dimensions that reinforce certain notes while cancelling others.
That’s why a subwoofer can sound huge in one seat and weak in another. The equipment hasn’t changed. The room has.
A good theater uses bass trapping to reduce that unevenness so impact sounds tight instead of swollen. Standard wall panels help with reflections and tonal balance, but they don’t solve deep low-frequency problems on their own.
For homeowners building a serious theater, this all ties back to system design. The room needs to support the electronics, not fight them. If you’re still planning equipment, this guide to the best surround sound receiver options helps frame the electronics side, but the receiver only performs as well as the space allows.
Every theater has an acoustic fingerprint. Some rooms ring. Some flutter. Some load up the bass in the front row and starve it in the second row. Before you buy treatment, identify what the room is doing.
The easiest clues show up during normal use.
If dialogue gets buried when the soundtrack becomes busy, the room may have too many early reflections. If claps create a fast metallic repeat, that’s flutter echo. If bass notes seem loud on one scene and thin on the next, room modes or subwoofer interaction are likely involved.
Walk the room while playing familiar content. Sit in the main listening seat, then move to side seats and the back row if you have one. Listen for what changes, not just what sounds bad.
A few common patterns:
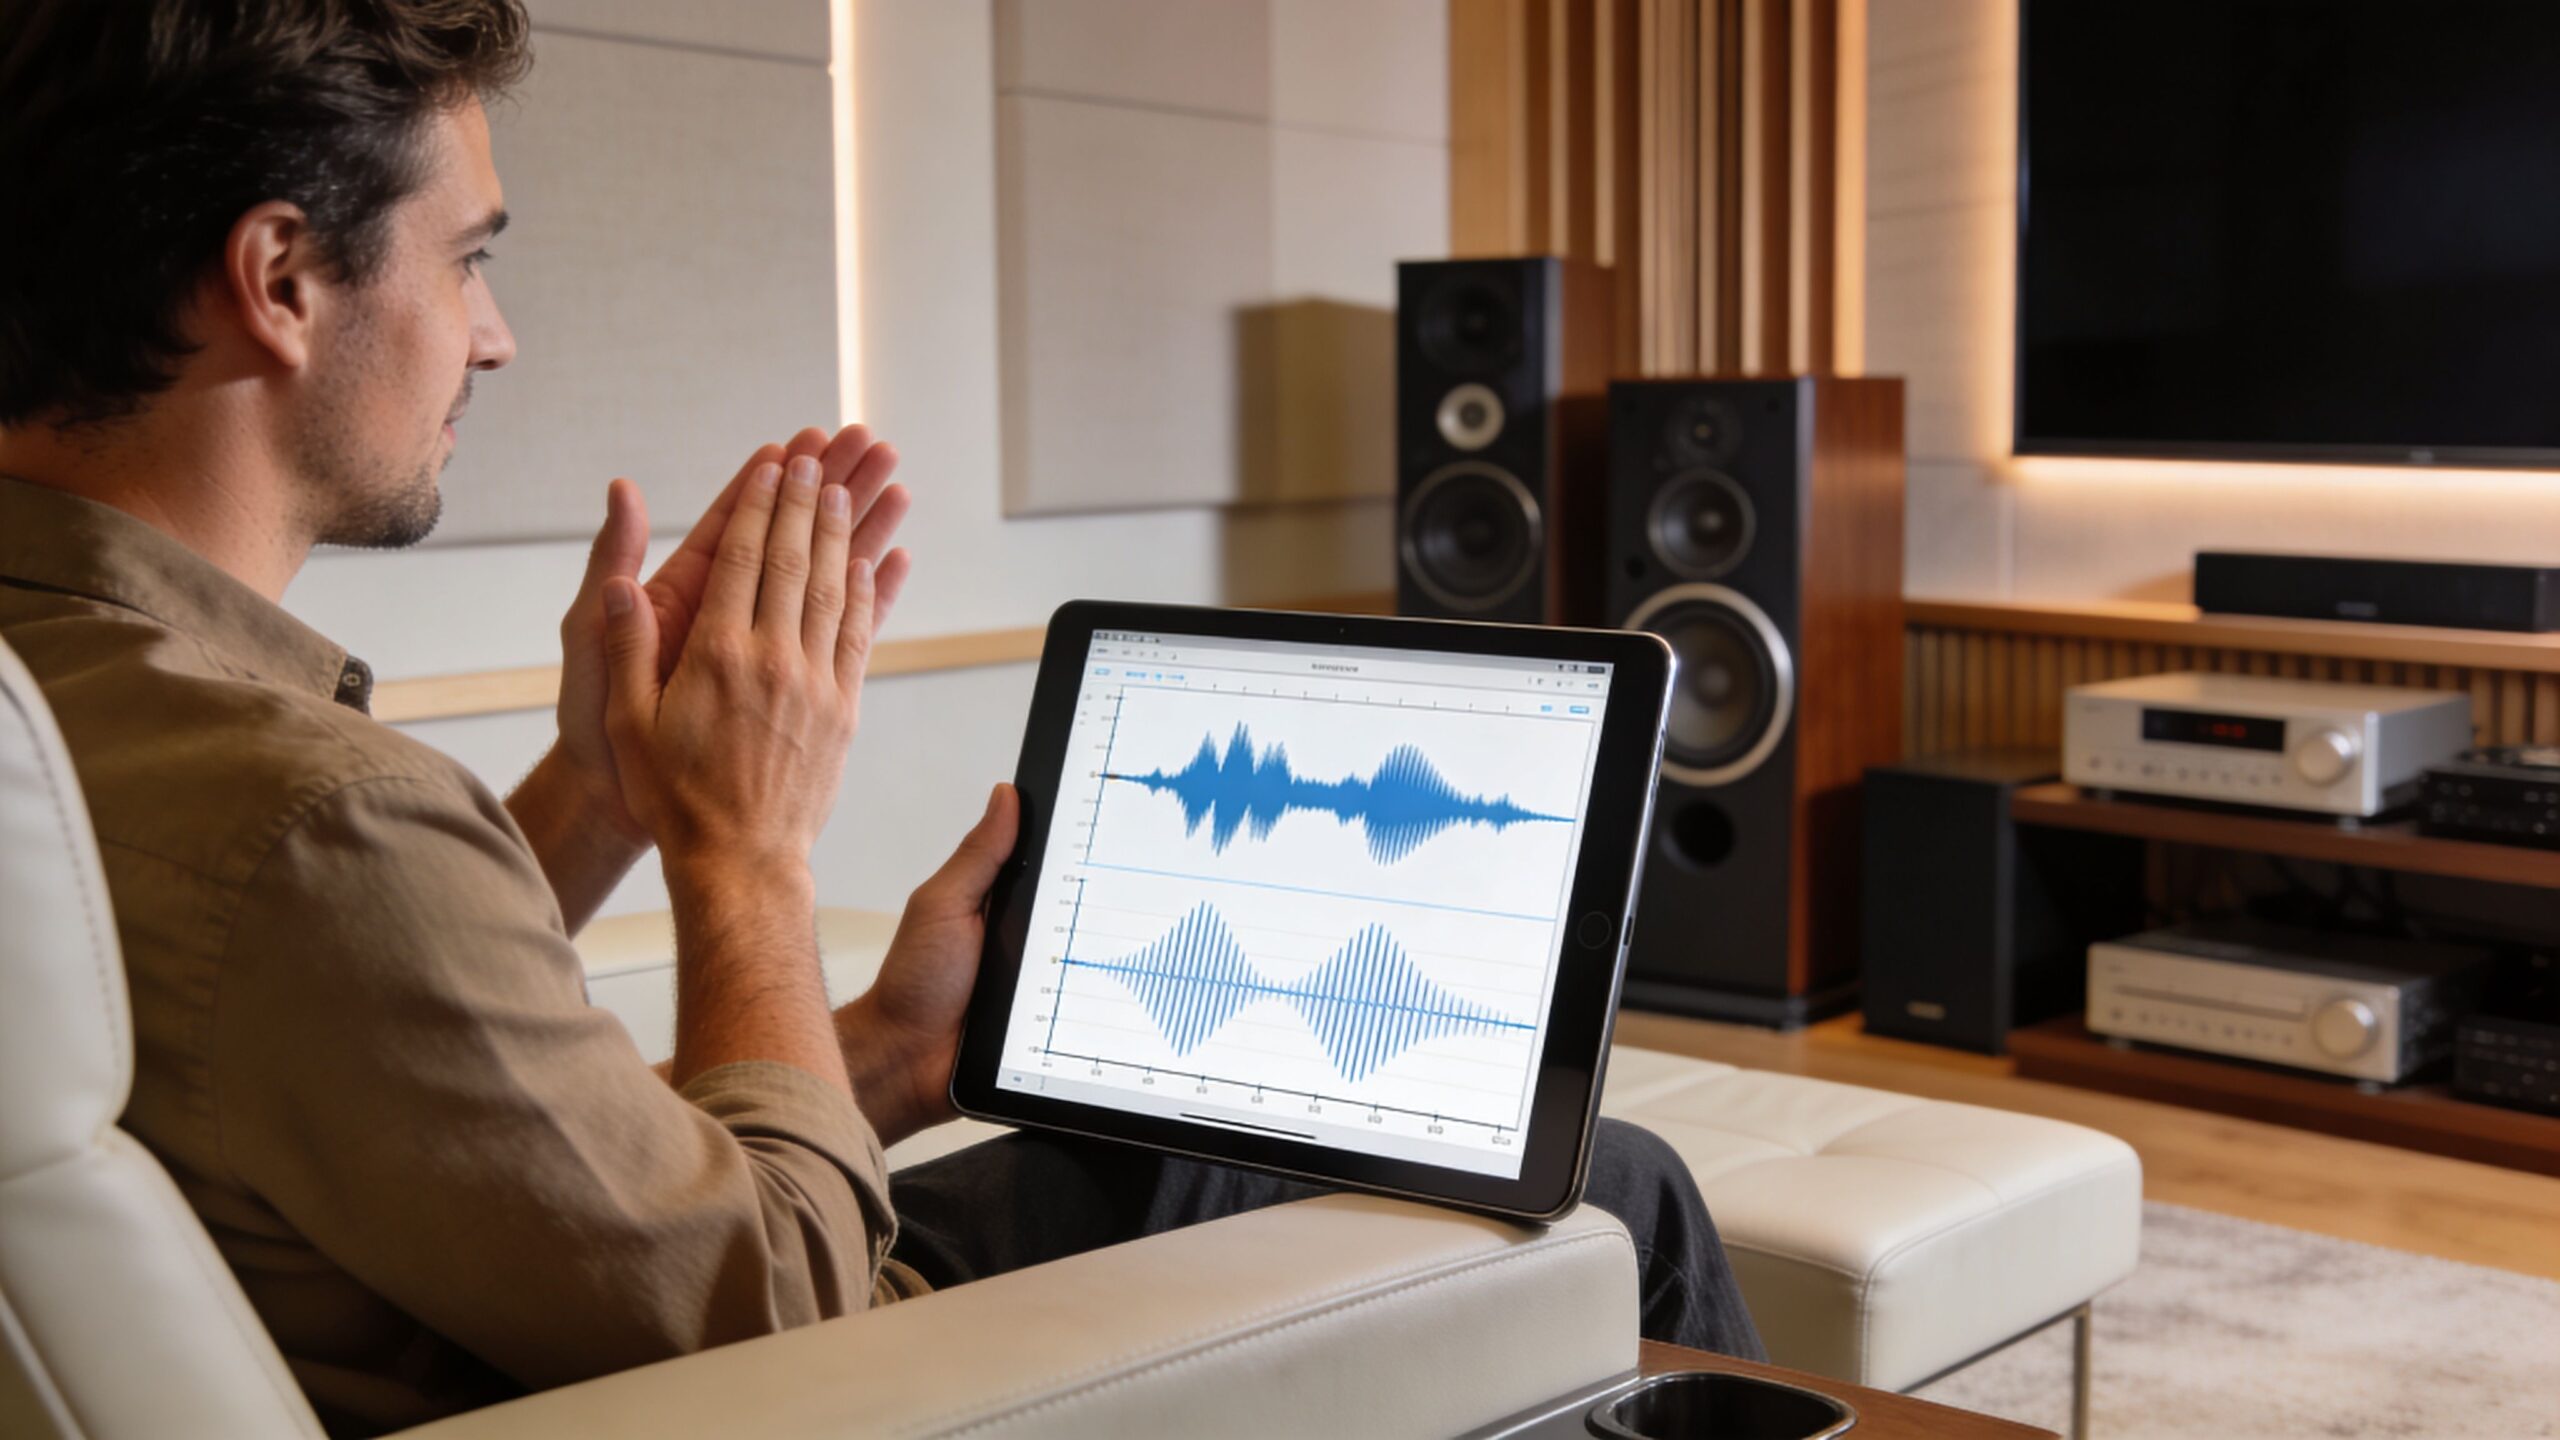
The mirror method remains one of the most useful low-tech tools in theater work. Sit in the main listening position and have someone slide a mirror along the side wall. When you can see the speaker in the mirror, mark that spot. That’s a first-reflection point.
Repeat the process for both side walls and, where possible, think similarly about the ceiling path between speaker and seating. These are priority treatment zones because they affect clarity and imaging more than random wall coverage.
The room’s proportions matter too. If you’re in the planning stage, a home theater room dimensions calculator helps avoid layouts that create more trouble than they solve.
Room EQ Wizard, often called REW, gives you a more objective view. It won’t replace judgment, but it will tell you whether the problem is mostly decay, frequency imbalance, or a specific low-frequency issue.
Here’s what to watch:
If a room is still under construction or you’re also trying to keep sound from leaking into the rest of the house, it helps to separate treatment from isolation. A resource on sound proof insulation spray can be useful for understanding the insulation side of the shell, but that’s not the same as tuning how the theater sounds inside.
Later in the process, a quick visual walk-through like this can help you connect what you’re hearing with what the room is doing:
If you can name the problem, you can usually fix it. If you just say “the room sounds off,” you’ll waste money on the wrong treatment.
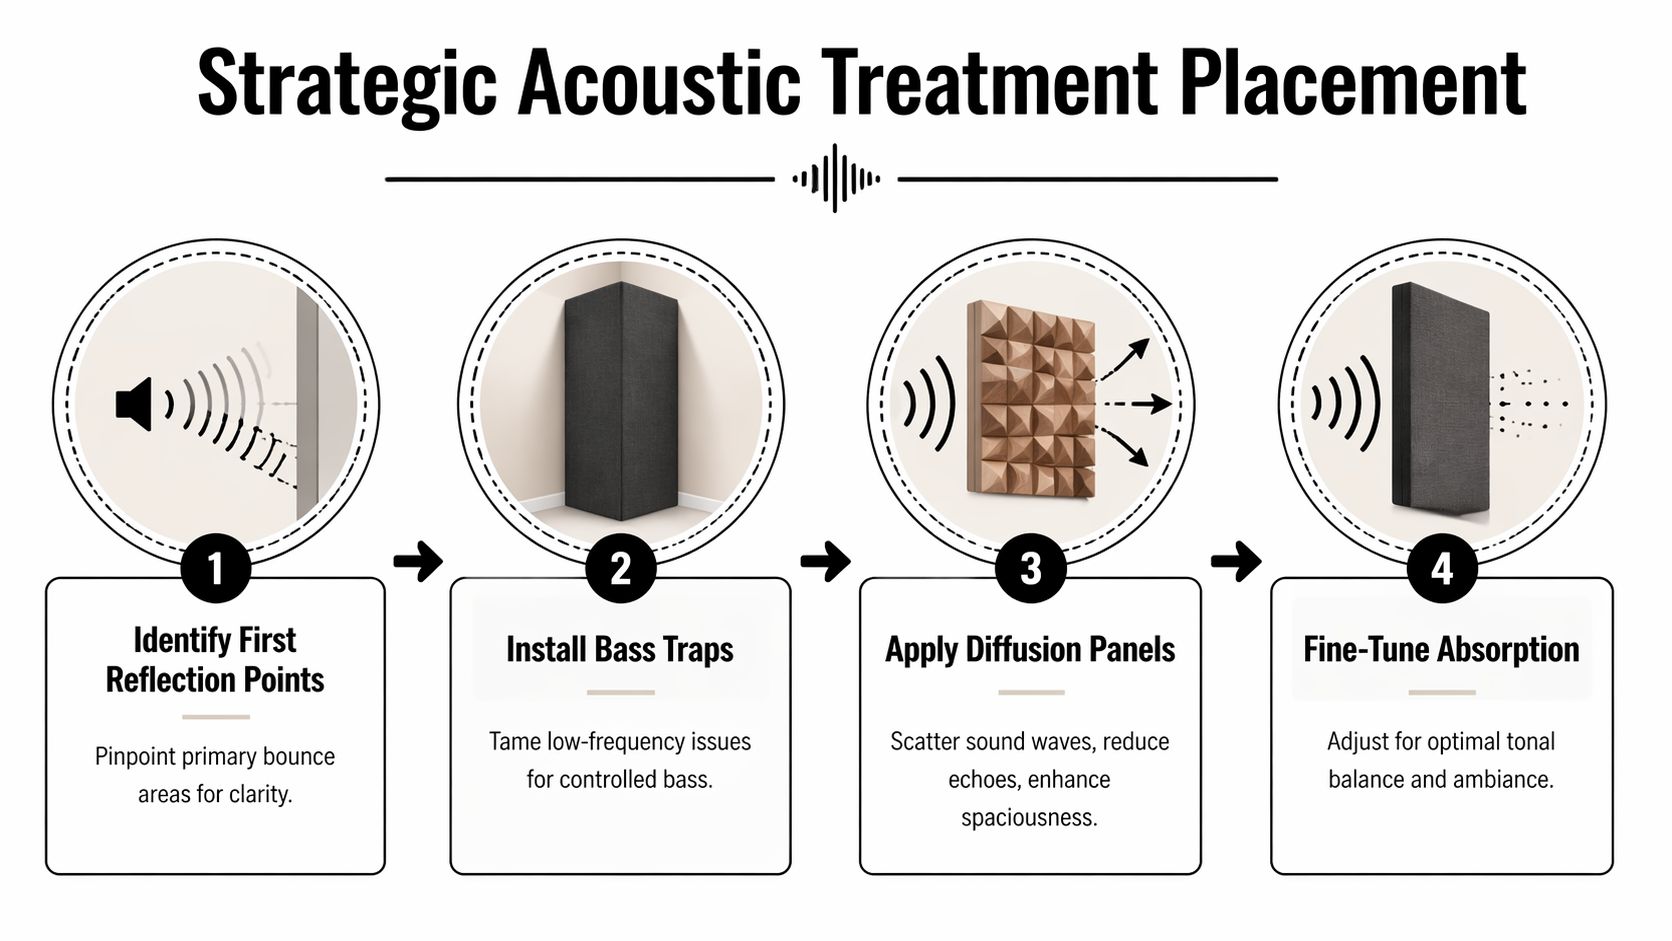
Good treatment isn’t random coverage. Placement matters more than quantity in the early stages, and sequence matters more than aesthetics. The goal is to control the right surfaces in the right order so the room sounds cinematic, not sterile.
Industry guidance from AWOL Vision’s home theater acoustic treatment guide recommends treating 20-30% of total wall surface area with absorption panels. The same source sets a practical priority sequence: floor treatment first, then corner bass control, then first-reflection points on side walls, and finally ceiling cloud panels. That order tracks with what moves the needle in real rooms.
Hard flooring is a major reflector. In many theaters, especially media rooms that started as multi-use living spaces, the floor sends high-frequency energy right back toward the seating area. Thick carpeting with dense underlay is often the cleanest first move because it addresses a broad, obvious reflection path without changing the room’s look too aggressively.
Corners come next because they’re where low-frequency pressure tends to gather. If bass is oversized, smeared, or inconsistent seat to seat, corner control usually does more than adding random flat panels to the side walls.
Once the floor and corners are addressed, move to the sidewall first-reflection points. These are the surfaces that interfere with image precision and dialogue clarity.
Homeowners frequently overdo it. They cover every visible wall section with soft material, then remove too much life from the room. Better results come from targeting the speaker-to-seat reflection path and leaving room for the system to breathe.
For theater layouts with multiple speakers, a strong placement plan also depends on speaker geometry. This surround speaker setup guide from Home AV Pros is useful for making sure the room treatment supports the speaker locations instead of compensating for poor placement.
Ceiling reflections can be stubborn because they arrive from above and are easy to ignore until you hear a well-treated room. A ceiling cloud positioned over the key bounce zone tightens front-stage focus and helps preserve intelligibility at lower listening levels.
Rear walls depend on distance. In shorter rooms, absorption often makes sense behind the seats because rear reflections arrive quickly and can be distracting. In larger rooms, diffusion on the rear wall can preserve spaciousness without the echo smear.
Practical rule: Treat what the speakers “see” first. Don’t treat what’s merely empty.
| Treatment Type | Primary Function | Best Placement | Common Materials |
|---|---|---|---|
| Broadband absorption panels | Reduce early reflections and overall reverberation | Sidewall first-reflection points, ceiling cloud areas, rear wall in shorter rooms | Fabric-wrapped fiberglass, mineral wool |
| Bass traps | Control low-frequency buildup and modal ringing | Front corners, rear corners, boundary intersections, selected wall-floor locations | Thick dense absorptive cores, membrane-style bass control products |
| Diffusion panels | Scatter reflected energy to keep the room spacious | Rear wall, sometimes upper side or back areas in larger rooms | Wood diffusers, molded composite diffuser panels |
| Floor treatment | Reduce strong high-frequency floor bounce | Between speakers and seating, full-room theater flooring | Thick carpeting with dense underlay |
Some treatment choices look impressive on Pinterest and fail in use. Others look understated and solve the actual problem.
What tends to work:
What usually disappoints:
A high-end theater should feel intentional. The room should support a Kaleidescape movie, a Sony image, and a carefully tuned speaker system with the same discipline that a well-designed smart home brings to lighting scenes, shades, and control interfaces.
Bass is where most home theaters win or lose. Midrange problems are audible. Bass problems are physical. You feel them in the seat, the floor, and sometimes in your frustration when one scene sounds glorious and the next sounds bloated.
The hard part is that low frequencies don’t bounce as straightforwardly. They build pressure patterns tied to the room’s dimensions. Those patterns create peaks where bass gets exaggerated and nulls where it seems to disappear. If the subwoofer sounds great in one chair and weak two seats over, that’s usually a room issue, not a bad component.
Standard wall panels mostly work in the mid and high frequencies. Bass needs more depth, more mass, and more deliberate placement. Corners matter because multiple boundaries meet there, making them prime collection zones for low-frequency energy.
Waves outlines a practical measurement-led protocol in its DIY acoustic treatment step guide. The process starts with one bass trap on the floor between the speakers against the wall, then adds 2-3 bass traps on the back wall floor, then places one trap against each side wall front corner. The same guidance emphasizes measuring RT60 at 150Hz and below, placing traps directly against walls rather than with air gaps, and targeting a final RT60 of approximately 0.2s across the entire frequency range.
That wall contact point surprises a lot of homeowners. With many mid and high frequency absorbers, spacing off the wall can help. With room-mode bass control in this protocol, direct boundary placement is the efficient move.
Bass treatment is best handled as a sequence, not a shopping list.
Start at the front wall between the speakers
This tests how much front-boundary energy is contributing to low-end smear.
Move to the back wall floor area
The protocol’s grouped trap placement on the rear boundary helps expose whether the room’s lowest mode is dominating what you hear.
Address the front side corners
This step often improves the low-mid transition and can clean up bass harmonics that make male voices or soundtrack weight sound thick.
Measure after each change
Don’t assume more treatment is always better. If the room falls below the target in the wrong range, it can become too dry.
Bass control is one of the few areas where “close enough” often isn’t close enough.
People often blame the subwoofer because bass problems are dramatic. In practice, the room is usually steering the result. They also mistake output for quality. Loud bass isn’t good bass if it hangs on too long or masks detail.
A well-controlled low end should do three things at once. It should hit hard, stop cleanly, and stay consistent across more than one seat. That’s what makes explosions feel authoritative instead of sloppy, and what keeps a music-heavy soundtrack from swelling over dialogue.
This is also why subwoofer EQ alone won’t rescue a poor room. EQ can reduce peaks at a listening position, but it can’t fix a decay problem or fill a deep null throughout the seating area. Bass traps and placement do the physical work. Calibration refines the result after the room cooperates.
A serious theater shouldn’t look like a converted rehearsal room. It should look finished, intentional, and aligned with the rest of the house. That’s especially important in homes where the theater connects to a broader technology stack with Josh.ai, Lutron, Sonos, Ubiquiti, lighting scenes, motorized shades, and managed networking behind the walls.
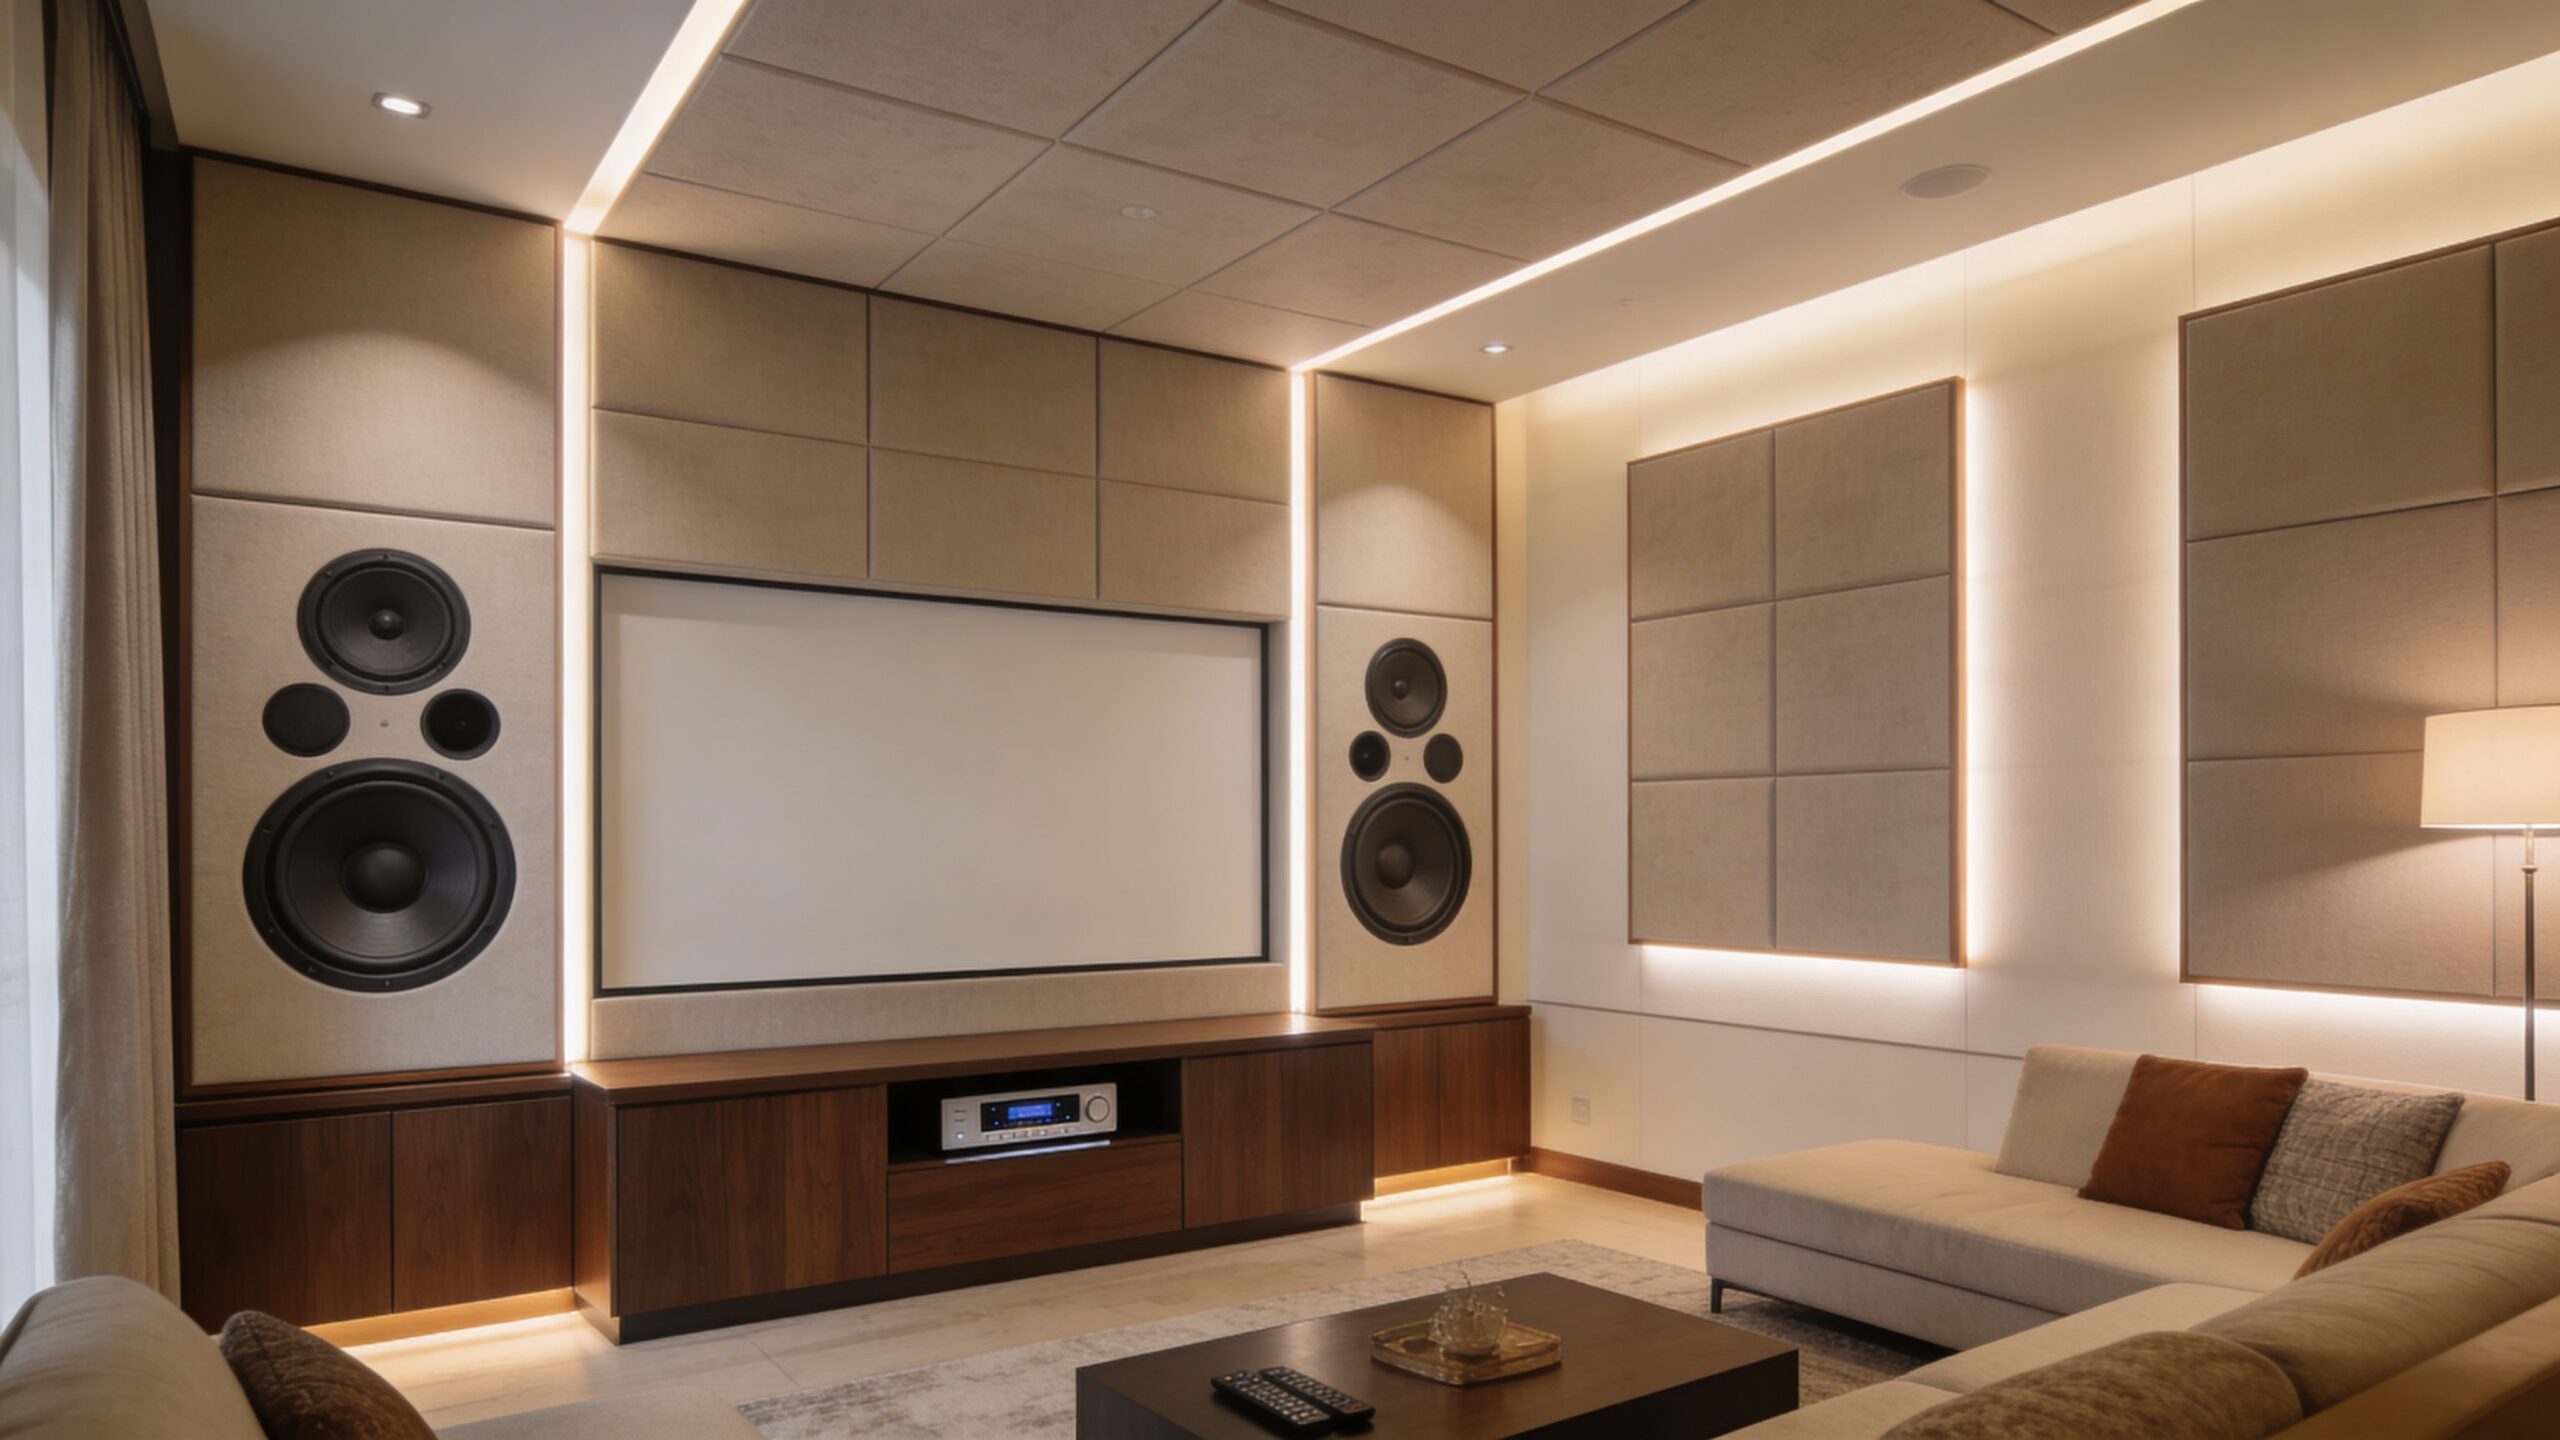
The best rooms hide their technical discipline in plain sight. Fabric-wrapped wall panels can read as architectural millwork. Wood diffusers can become a design feature instead of an exposed acoustic device. Dark ceiling clouds can blend into a theater ceiling line and vanish when the lights dim.
That matters because many high-end homeowners don’t want a room that looks overtly “treated.” They want a space that feels refined during the day and immersive at night. Acoustic treatment can absolutely do that when it’s designed with finishes, lighting, and speaker placement in mind from the start.
Voice control and automation don’t improve bad acoustics. They reveal them faster.
If you tell Josh.ai to start movie night, the shades lower, the Lutron scene fades, the projector powers up, and the Kaleidescape interface appears. That experience feels premium only if the soundtrack lands with the same level of polish. Otherwise, the room becomes the weak link in a very expensive chain.
A treated room also changes how homeowners use the space. They don’t have to turn the volume up as aggressively to catch dialogue. Surround effects localize more cleanly. Music playback through a theater-grade system or a Sonos-integrated media space sounds more composed and less fatiguing.
Acoustic planning is easiest during design and rough-in. That’s when you can coordinate speaker locations, lighting layout, projector placement, HVAC paths, shade pockets, rack location, and finish materials before drywall closes everything up.
In residential work, that coordination is often what separates a purpose-built theater from a room full of premium gear that never quite locks in. It’s also where a broader AV and smart home plan pays off. Homeowners looking beyond theaters often want the same design language and control simplicity carried through the rest of the property, whether that means distributed home audio, outdoor lighting and sound, Oelo permanent lighting, or strong whole-home connectivity with Ubiquiti.
Restaurants and commercial spaces can benefit from acoustic work too, but the home environment is where these details become most personal. In a private theater, you’re not just controlling noise. You’re shaping how the family experiences films, concerts, sports, gaming, and everyday media in the room they use most intentionally.
Some acoustic treatment projects are very doable as DIY work. Others become expensive twice because the first round was based on guesswork.
The dividing line is usually complexity. A smaller room with obvious sidewall reflections, simple seating, and off-the-shelf panel options can be improved by a careful homeowner. A dedicated theater with multiple subwoofers, architectural speakers, hidden wiring, star ceilings, automation scenes, and aesthetic expectations usually benefits from professional design and calibration.
DIY works best when the room problems are clear and the treatment plan is modest.
A homeowner can often succeed with:
If you’re also trying to separate room treatment from true sound isolation, a practical guide on how to soundproof a room can help clarify the difference. That distinction matters because many people expect wall panels to stop sound leakage, which they won’t do by themselves.
A dedicated home theater changes the math. Professional-grade rooms often need far more treatment than homeowners expect.
According to DecoSoundPanel’s guide to acoustic panel calculations, professional-grade home theaters typically require 60% surface coverage with acoustic panels, compared with 15-20% for general rooms. That same source says a standard 18×24 foot theater can require 30-60 panels to bring RT60 under the 0.5-second cinema standard.
At that scale, this isn’t a weekend decor project. It’s design, material selection, layout, installation, and verification.
Professional work isn’t only about having more tools. It’s about preventing common failure points.
Here’s where pro involvement usually pays off:
| Decision area | DIY risk | Professional advantage |
|---|---|---|
| Panel quantity | Too little or far too much treatment | Coverage planned to the room’s actual needs |
| Bass control | Random trap placement with poor low-end payoff | Measurement-based placement and iteration |
| Aesthetics | Visible seams, awkward spacing, exposed hardware | Clean integration with finishes and lighting |
| System coordination | Treatment fights speaker or seating layout | Room, speakers, screen, control, and furniture work together |
| Final tuning | “Sounds better” but no proof | Verified performance through measurement and calibration |
A professional integrator also sees the room as part of a larger system. That matters if you’re planning automated shades, voice control, whole-home audio, a dedicated rack, security cameras, Wi-Fi, or a new-build low-voltage package. The best theater rooms don’t feel separate from the house. They feel like the highest-performing room in it.
If you’re evaluating whether to bring in an expert, it helps to look at a firm that handles the full design-build-calibrate chain, not just panel mounting. An experienced audio visual contractor can coordinate the acoustic side with control, networking, display, lighting, and finish expectations.
No theater is done when the last panel goes up. The final step is always verification.
Measure the room again. Re-check speaker levels. Revisit subwoofer integration. Confirm that dialogue sits clearly in the center channel without pushing volume too high. Test familiar movie scenes and well-recorded music. If the room sounds too dry, adjust. If bass still lingers, keep working the low end.
The goal isn’t to make the room impressive on paper. The goal is to make every seat sound intentional.
That final pass is what separates “treated” from “finished.” A finished room disappears and lets the soundtrack take over. Dialogue snaps into place. Surround pans hold together. Bass has weight and control. The room stops arguing with the system.
If you want that level of performance without trial and error, Home AV Pros designs and installs custom home theaters, smart home systems, new-build AV packages, home audio solutions, outdoor lighting and sound, and select commercial projects throughout southern Wisconsin and nearby northern Illinois. They work with brands such as Josh.ai, Lutron, Sonos, Kaleidescape, Oelo, and Ubiquiti to build rooms that look clean, operate effortlessly, and sound the way a premium theater should.

Copyright © 2026. Home AV pros. All rights reserved.