
Most homeowners start looking up how to ip camera setup after they've already hit the limits of the simple route. A few Wi-Fi cameras went up fast. The app worked at first. Then one camera started dropping offline, another only saved clips you needed after the fact, and suddenly you had motion alerts spread across a phone full of disconnected apps.
That's usually the point where the problem stops being “which camera should I buy?” and becomes “how should this system be built?” A dependable IP camera setup isn't mostly about the camera. It's about the network, power delivery, storage, remote access, and whether the system will live as a standalone gadget or as part of the house.
In a modern smart home, cameras should behave more like lighting, audio, and control. They should be predictable. They should come up every time. They should integrate cleanly with platforms like Josh.ai, Lutron, Sonos, and Ubiquiti networking, instead of living in their own silo. That matters just as much in a family home as it does in a custom theater or a whole-home automation project.
The good news is the core installation path is no longer mysterious. The process has become standardized, typically involving five to eight key steps from power-up through static IP assignment and remote access configuration, according to this step-by-step IP camera configuration overview. What separates a clean result from a frustrating one is the planning behind those steps.
If you're sorting out whether cameras belong inside a broader smart home plan, it helps to understand what a home automation system actually ties together. Cameras make more sense when you treat them as one part of the home's control and monitoring layer, not as isolated hardware.
A professional-grade camera system should solve three things at once. It should give you reliable video, straightforward playback, and a path to integration. If it only does one or two of those, you'll outgrow it.
Many DIY systems fail because the install starts with convenience. The camera gets mounted where it's easiest, powered however it can be, and connected to whatever Wi-Fi happens to reach that corner of the house. That can work for a test run. It usually doesn't hold up as a permanent system.
Practical rule: If the camera plan ignores the network plan, the camera plan isn't finished.
In homes with better automation, the foundation matters more. Clean PoE runs, organized switching, solid Wi-Fi where wireless devices need it, proper recorder placement, and clear device naming all make the difference later when you want doorbell video on a TV, driveway alerts tied to lighting, or stable remote viewing from one app instead of five.
That's also where the rest of the home enters the conversation. A camera system sits next to whole-home audio, automated shades, theater control, outdoor lighting, and structured wiring. In higher-finish homes, those systems need to cooperate without turning the rack room into a patchwork of compromises.
The planning stage determines whether the system feels polished or patched together. The biggest early decisions are PoE vs. Wi-Fi and local recording vs. cloud recording. Get those right, and everything else gets easier.
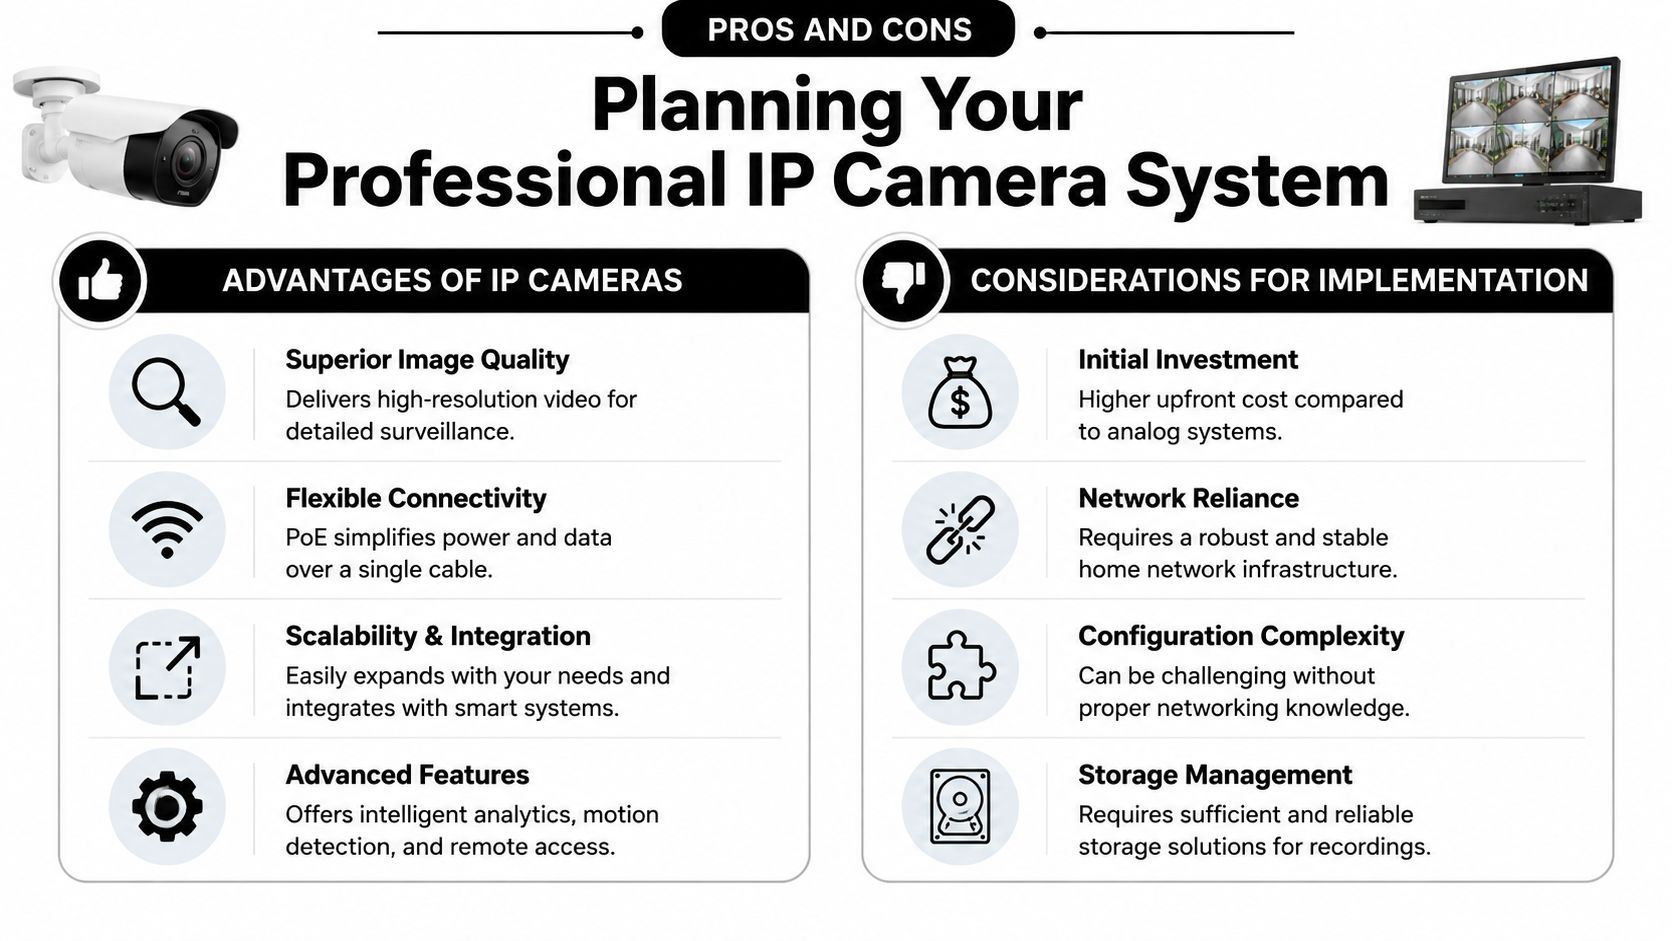
For permanent exterior cameras and any important coverage zone, PoE is usually the better choice. One cable handles both data and power, which simplifies the field device and removes the usual weak points of consumer Wi-Fi installs. The standard wired method uses Ethernet through PoE infrastructure, typically over a single Cat 6 cable, as described in this IP camera setup guide.
Wireless cameras do have a place. They're useful where cabling is difficult, on detached structures, or when you need a quick temporary view. But the trade-off is real. Wireless setups are reported to hit 92% success rates in DIY scenarios, yet Wi-Fi interference causes 40% of reconnect failures, according to this wireless IP camera setup video reference.
Here's the short version:
| Factor | PoE (Wired) | Wi-Fi (Wireless) |
|---|---|---|
| Reliability | Better for permanent installations | More vulnerable to interference |
| Power | Delivered through the same cable | Requires battery, local power, or separate charging plan |
| Installation | More labor up front | Faster to deploy in simple locations |
| Video stability | More predictable for continuous streaming | More dependent on signal quality |
| Smart home integration | Easier to standardize in larger systems | Fine for light-duty use, less ideal for complex systems |
| Best fit | Main home perimeter, key entries, recorder-based systems | Apartments, temporary coverage, hard-to-wire spots |
The second planning choice is storage. A local NVR keeps footage in the house and usually gives you more control over retention and playback. It also plays better with larger camera counts and integrated systems. Cloud recording is convenient, but it often means subscriptions, app lock-in, and less control over how video fits into the rest of the home.
For higher-end homes, local recording usually wins because it keeps the system centered on your network, not a vendor's app ecosystem. That makes later integration with Josh.ai, control interfaces, and distributed displays much cleaner.
A camera system that only works well in the manufacturer's app usually feels limiting once the rest of the house is automated.
Ubiquiti networking often makes sense. Not because it's trendy, but because structured switching, access points, and cleaner network management matter when multiple cameras are streaming at the same time. Cameras compete with TVs, streaming boxes, Sonos zones, gaming consoles, and work-from-home traffic. A flimsy network makes every camera look worse than it is.
If you're still in the wiring phase, a practical reference like this contractor's guide to residential wiring helps frame what should happen before walls close up. Camera cabling, low-voltage paths, and power planning are much easier to do early than after paint and trim are finished.
Don't start by asking where a camera can go. Ask what you need to identify. Front approach, package zone, driveway, patio, side yard, garage apron, and rear entry all have different goals. Some views are for awareness. Others are for recognition.
A good layout also keeps future automation in mind. A driveway camera can become an event trigger. A gate or patio camera can support lighting scenes. A front entry camera can tie into a chime, a display panel, or a voice command.
A clean install looks intentional before anyone even opens the app. The camera sits where it has a useful angle, the cable path disappears into the structure, and the hardware doesn't fight the architecture.
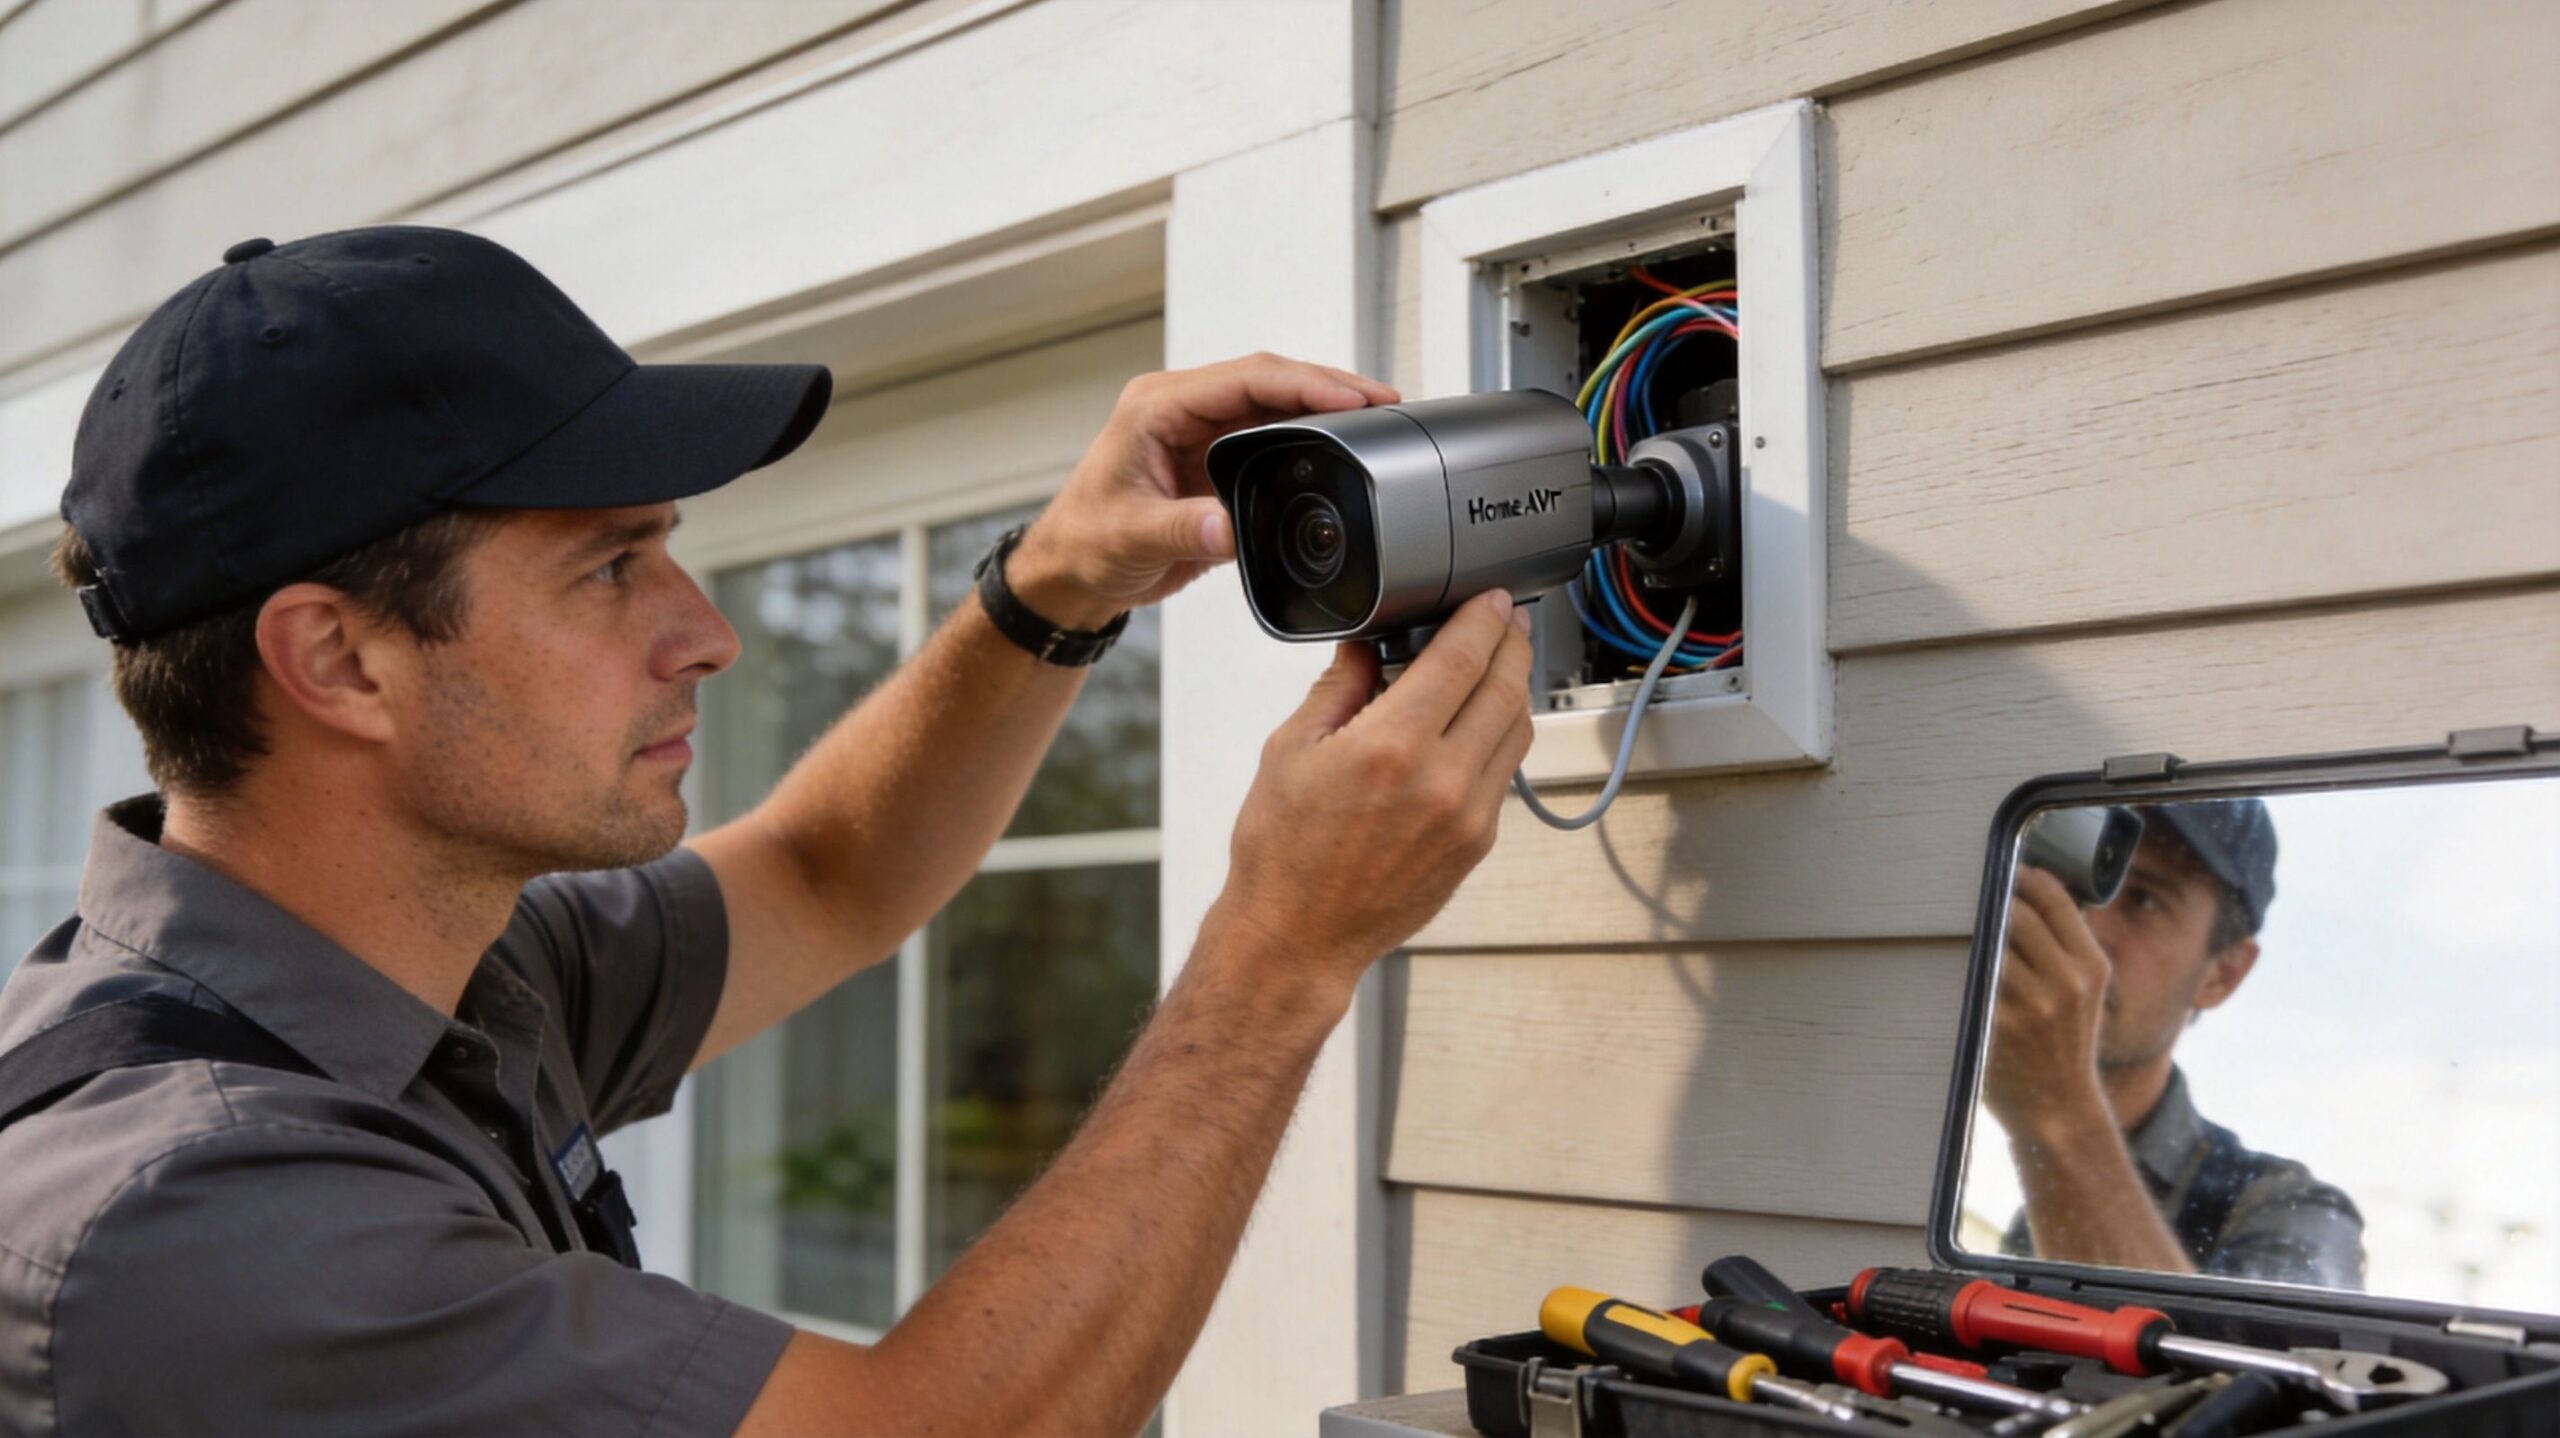
Exterior cameras need more thought than “high enough to be safe.” Too high and you lose useful facial detail. Too low and you invite tampering. A good position usually protects the camera, avoids direct glare, and keeps the lens clear of soffit shadows, gutters, and seasonal growth.
Different surfaces need different mounting habits:
Visible wire is what makes a camera install look temporary. On a finished house, the cleanest route may involve attic drops, basement runs, garage transitions, or exterior conduit painted to match. On a new build, pre-wire changes everything. You can land cable exactly where the camera belongs instead of where access happens to be possible.
That same pre-wire mindset helps with more than security. It's the right time to think about theater locations, whole-home audio zones, Sonos endpoints, TV back boxes, keypad positions, and control wiring. Camera rough-in belongs in that conversation.
If you're remodeling or building, rough in more cable than you think you'll need. Extra wire in the right place is cheap insurance.
Night visibility is often won or lost before the camera ever turns on. Harsh floodlight glare, deep porch shadows, and poorly placed accent lighting can make a good camera underperform. In better-designed homes, camera placement and outdoor lighting should support each other.
That's especially true if you're also planning outdoor area lighting or permanent exterior lighting such as Oelo. A fixture aimed for curb appeal can also improve a walkway view. A badly aimed one can wash out the entire frame.
Once the cameras are mounted, the core setup begins. This is the part that makes the system stable for years instead of just functional for a weekend.
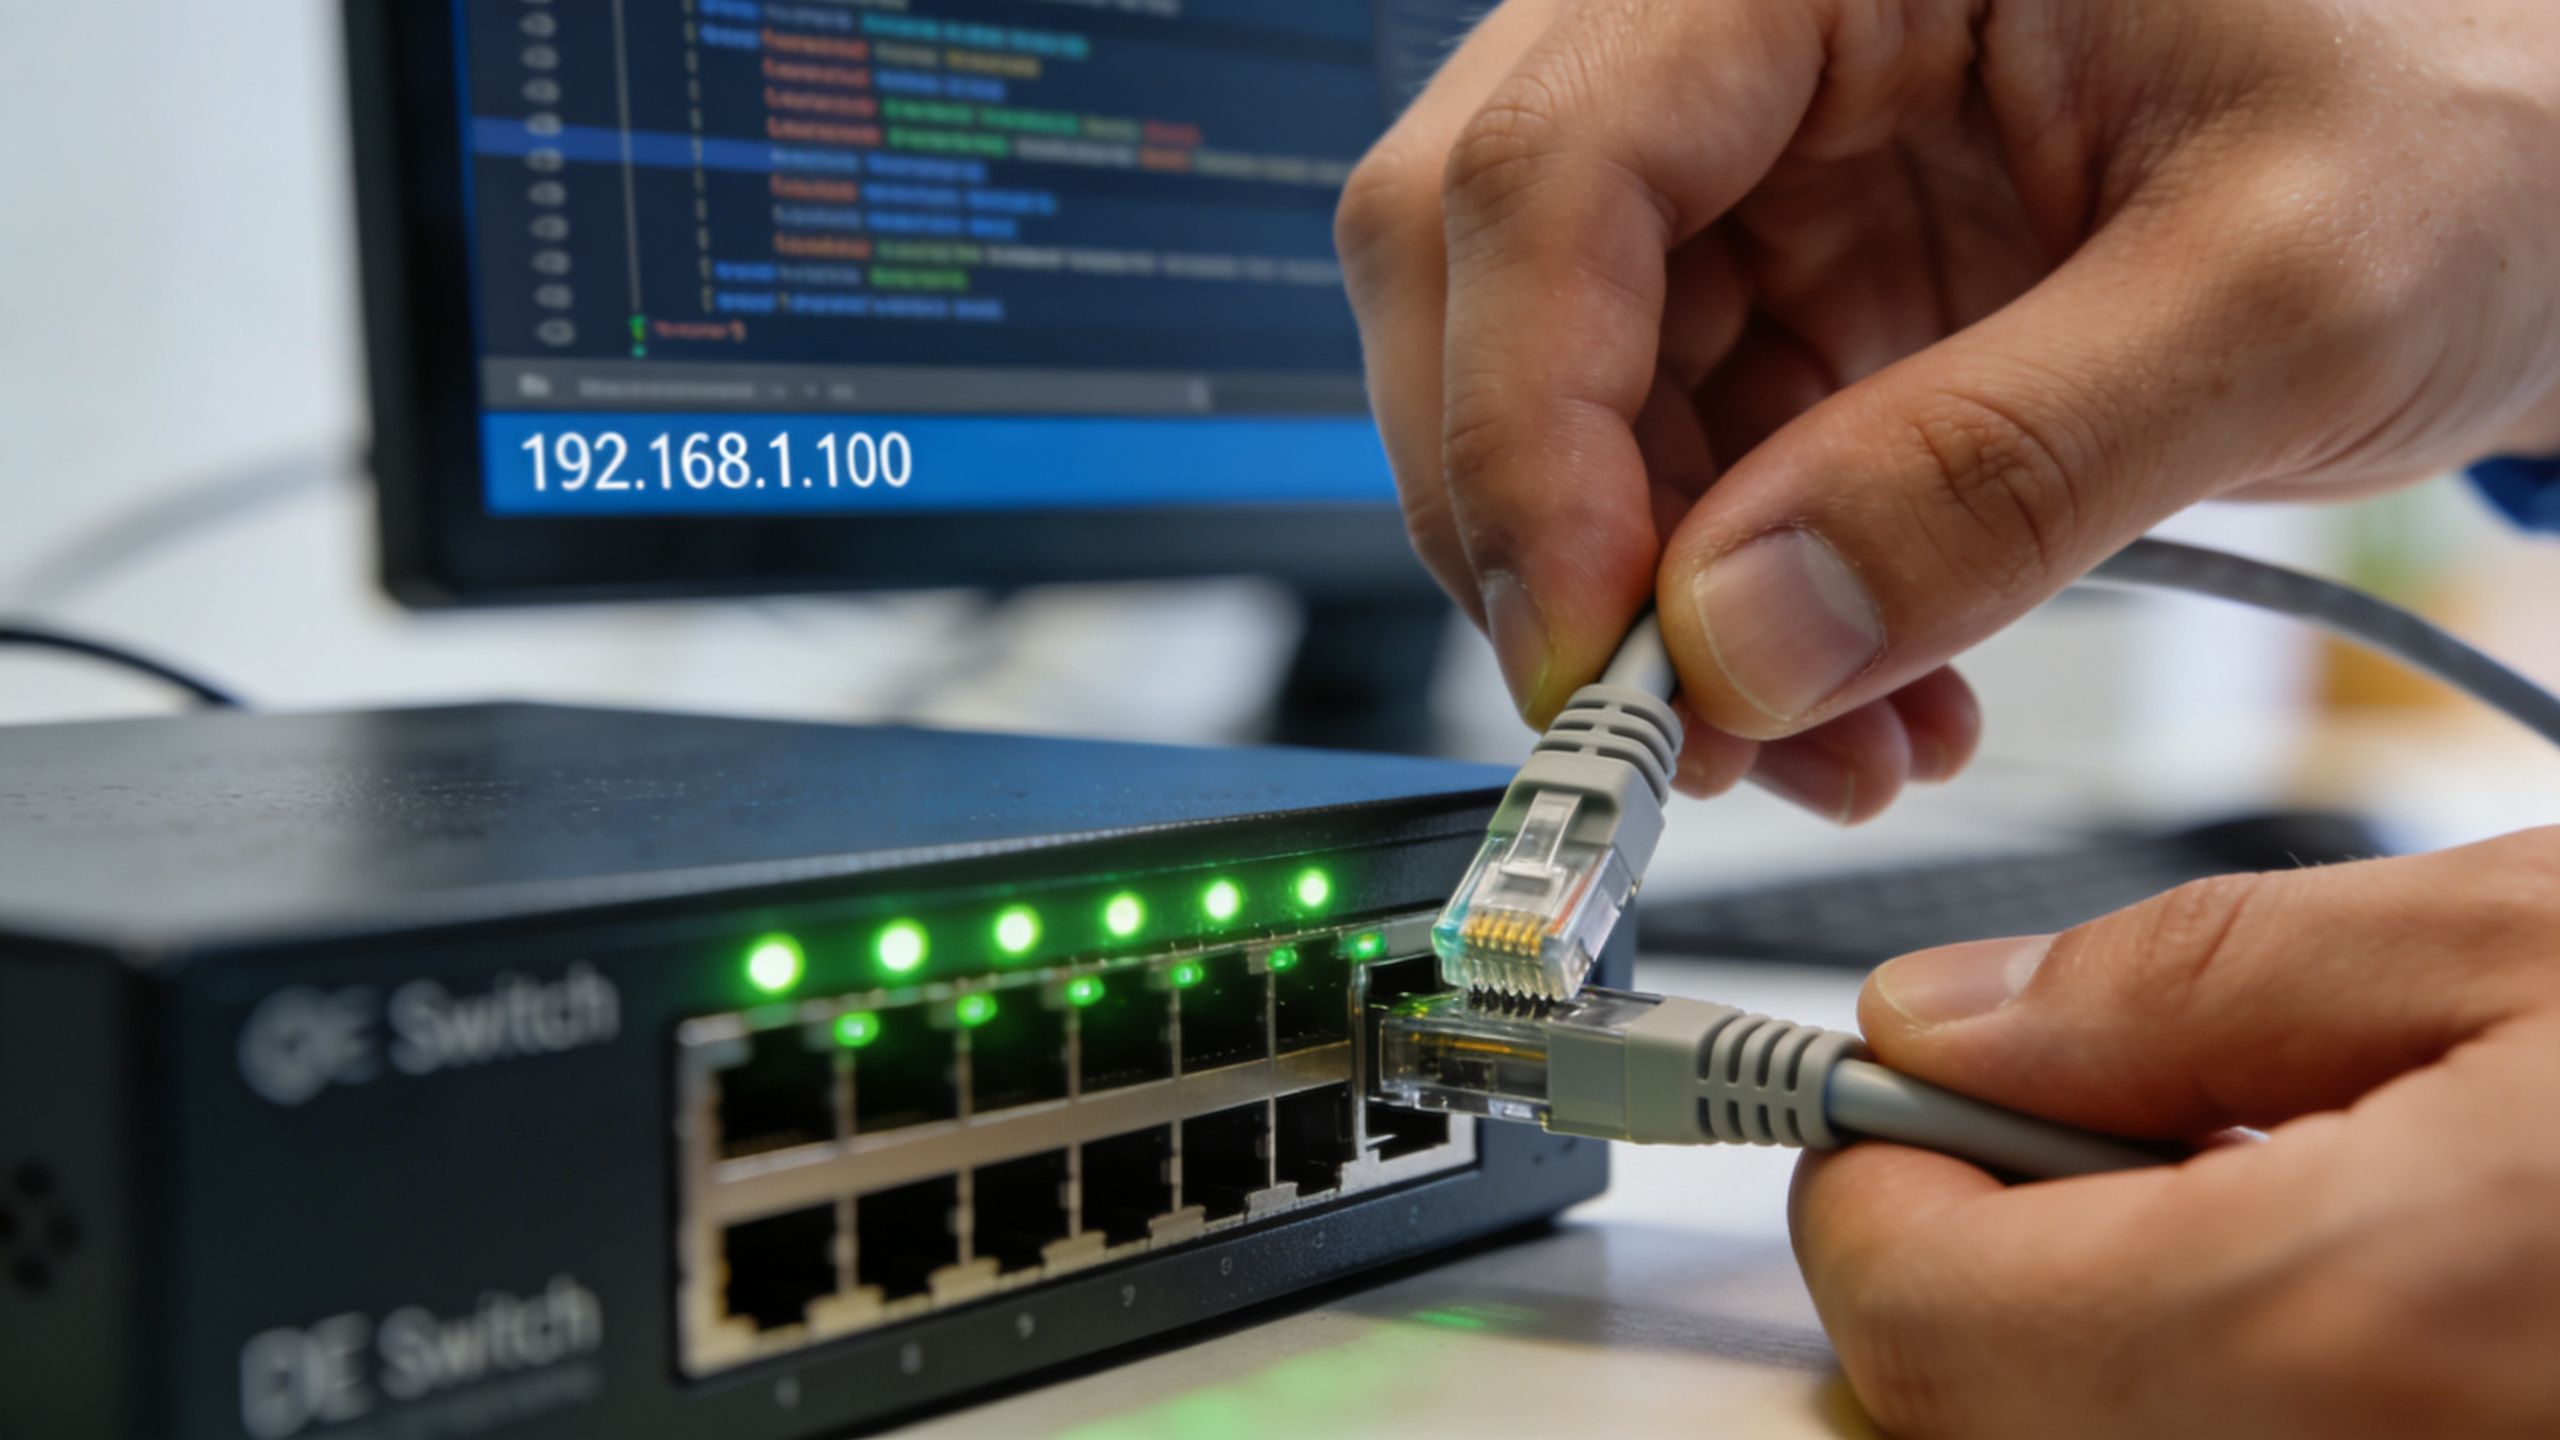
For a wired system, the clean path is straightforward. Router to PoE switch. Each camera home-run into that switch. NVR on the same network path. Display connected to the recorder if you want local live view and playback at the equipment location.
The standard setup process usually follows a familiar sequence:
If you want a plain-language overview of the PoE side, this PoE camera explanation is a useful baseline before you start assigning devices and ports.
A lot of homeowners try to skip straight to advanced settings. Don't. Let the network hand out addresses during discovery, confirm every camera is reachable, then assign static addresses in an organized range you can document. That step prevents later confusion when a recorder or control system expects one camera at one address and finds something different.
This is also where naming matters. “Driveway East,” “Front Door,” and “Back Patio” are far better than generic device labels. Good naming pays off when you're programming automations or troubleshooting later.
Wired PoE installs perform well when the fundamentals are right. In professional wired PoE installations, success rates exceed 95%, but 20% of DIY local access failures are caused by VLAN misconfiguration, and 70% of consumer failures stem from using unshielded cables in high-interference environments, according to this PoE installation guide.
That matches what integrators see in the field. People blame the camera when the actual problem is usually bad cable, poor terminations, noisy pathways near equipment, or network segmentation they partially set up and didn't finish.
A helpful primer on the physical side of PoE is this Mobile Systems New Zealand security article on PoE cameras, especially if you want a practical refresher before dressing cables and powering up the switch.
VLANs can be a smart way to isolate camera traffic from the rest of the home network, but they're not a beginner checkbox. If you create one, you need to understand how devices on that segment will still reach the recorder, app, and any automation platform that needs the stream. Partial VLAN setup causes a lot of “camera is online but nothing can see it” calls.
A half-configured VLAN is worse than no VLAN at all.
Remote access needs the same discipline. Some systems use direct vendor apps and peer-to-peer methods. Others rely on traditional router configuration. Either way, don't expose services casually just because a forum post told you to click through a firewall setting.
For a visual walkthrough, this video helps show what the network side looks like in practice:
A camera becomes much more useful when it stops acting like a separate appliance. In a well-designed home, it turns into a sensor, a video source, and a trigger for other systems.
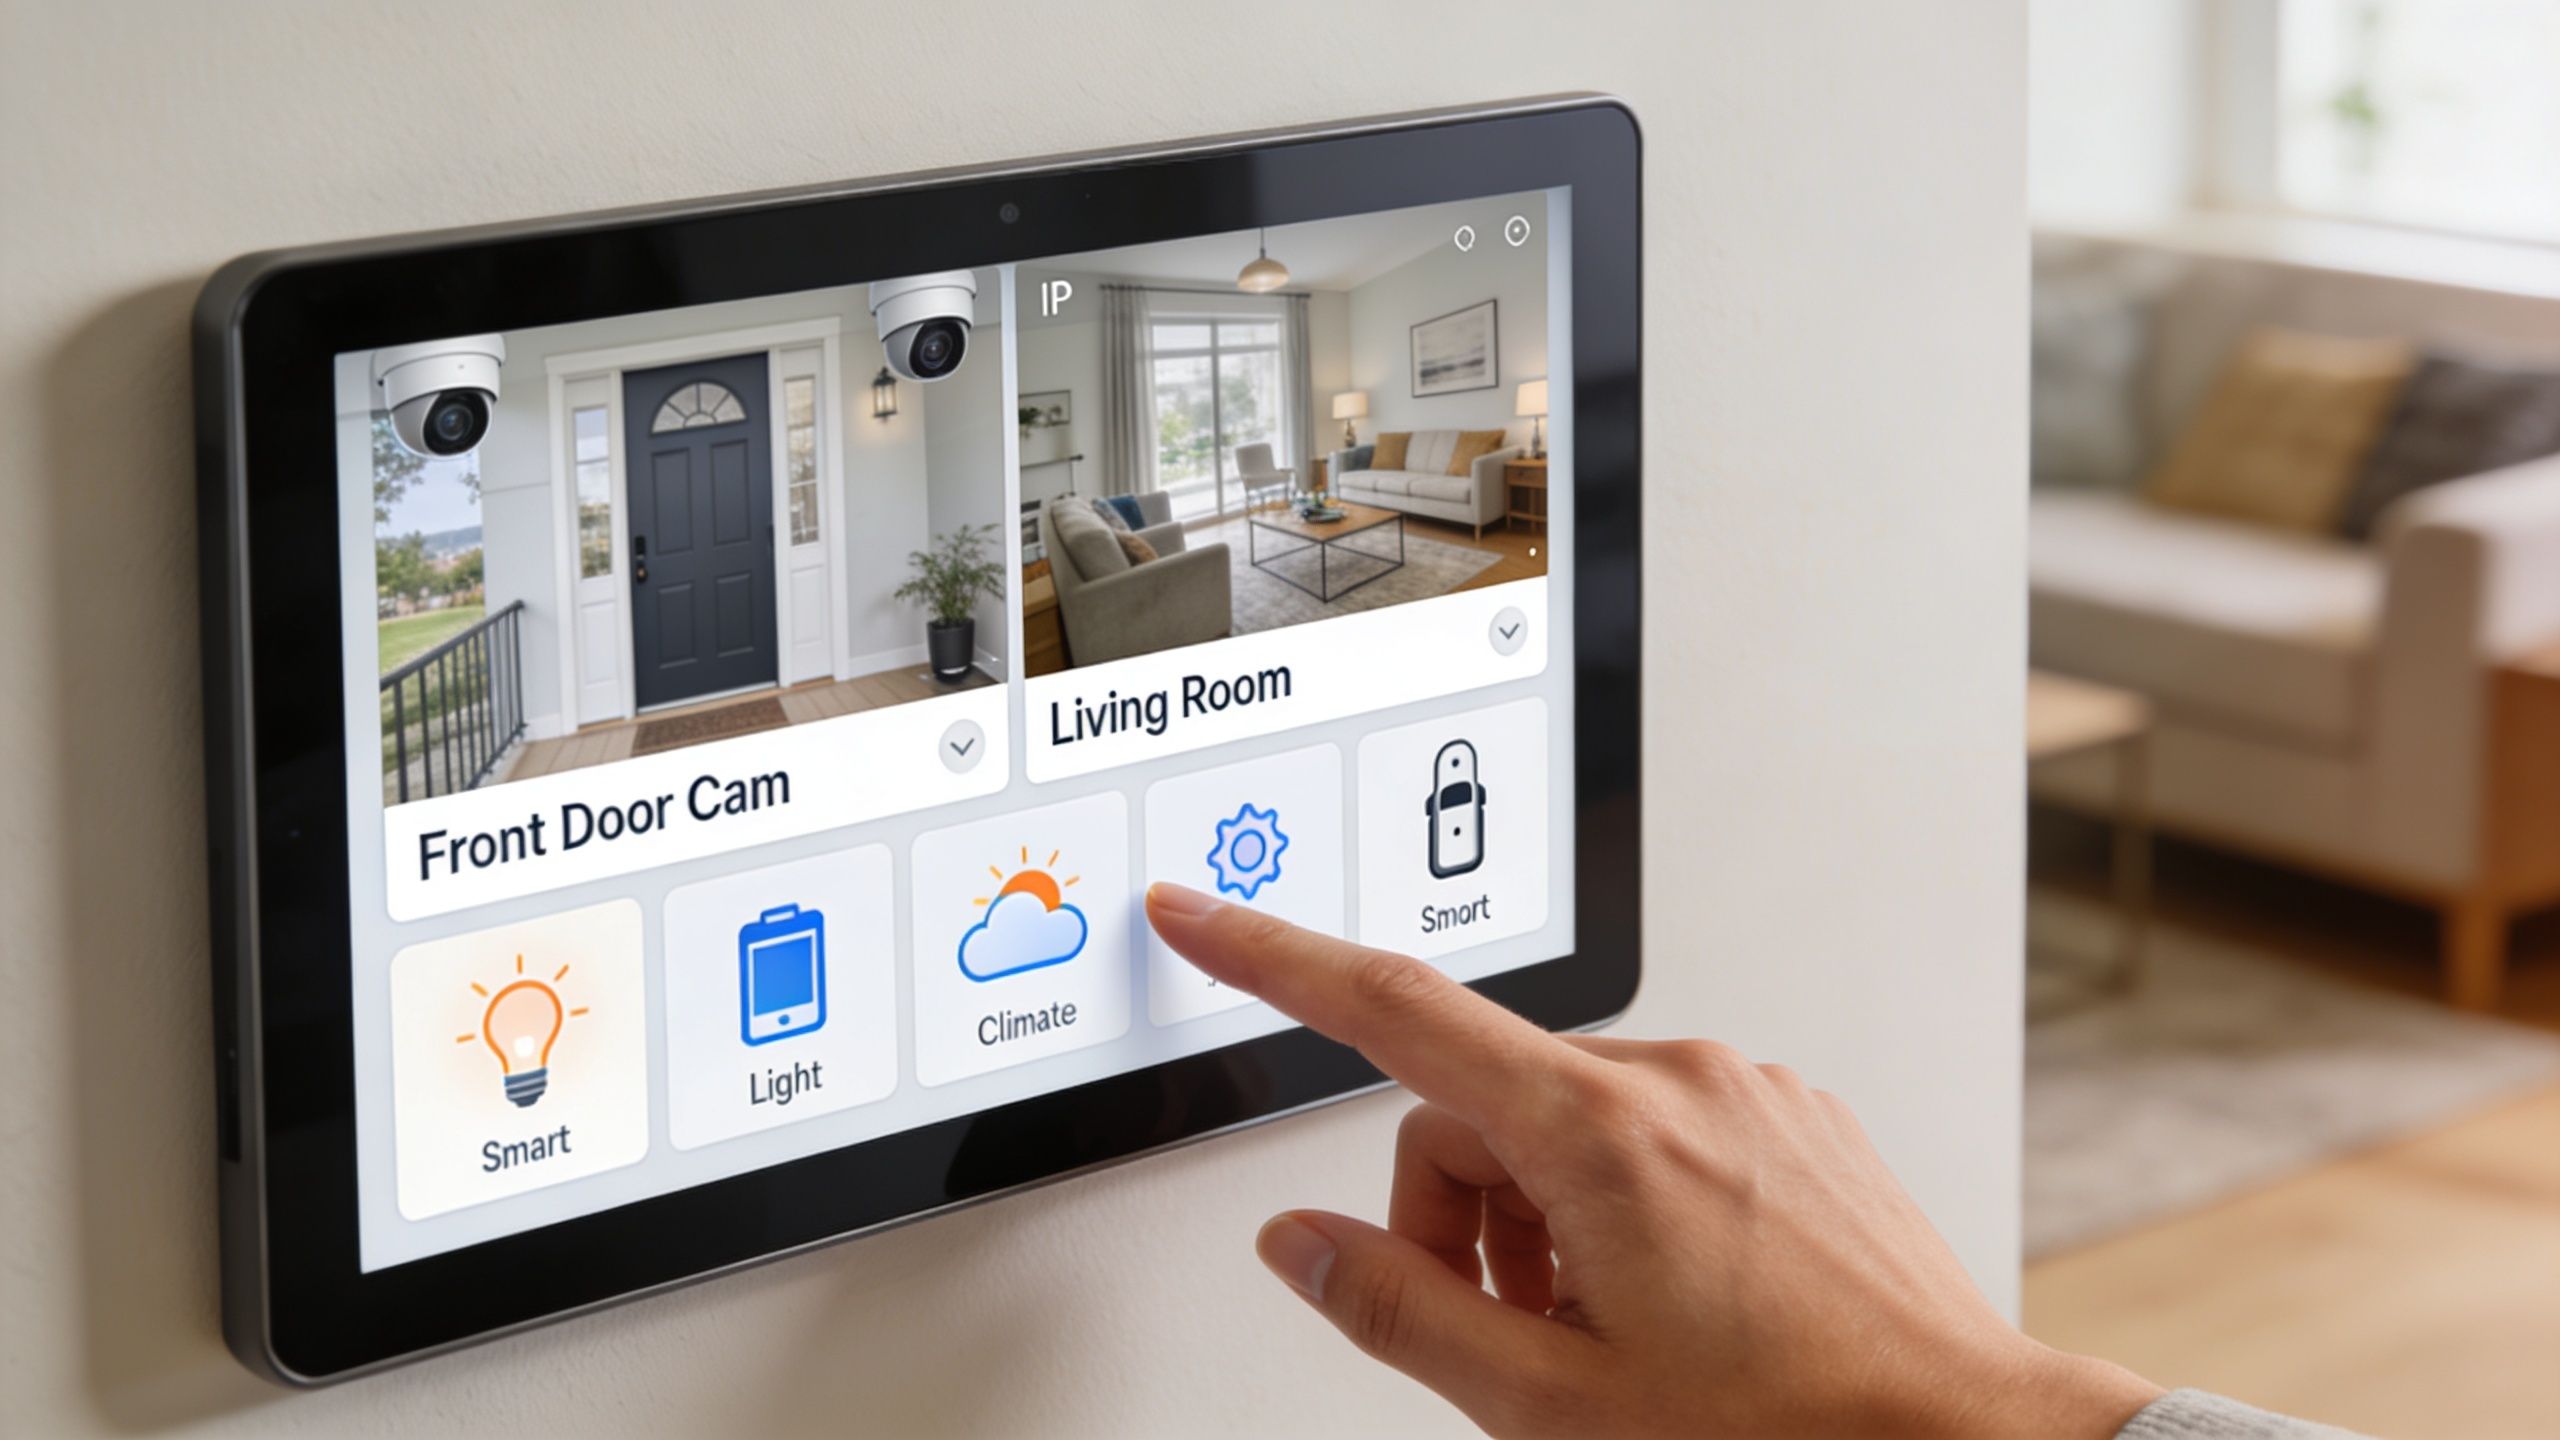
A lot of homeowners think camera setup ends once the phone app shows live video. That's only the starting point. The bigger value comes when the camera feed appears where you already live in the house. On a wall touchpanel. On a family room TV. Through a voice command. Through a lighting or audio response tied to an event.
Interoperability matters here. A 2025 Parks Associates study found that 62% of US smart home owners abandon IP camera setups due to interoperability failures, but integrating cameras with automation triggers can boost retention by 50%, according to this integration-focused security camera reference. That tracks with real-world experience. People keep systems they can use in context.
Consider how different the same front door camera feels in two homes.
In the first house, the camera sends a push notification into a crowded app stack. You open the app, wait for the feed, and maybe answer the door too late.
In the second house, the front walk camera sees motion, the porch and path lights respond through Lutron, a chime plays through Sonos, and the nearest display brings up the live feed. If the house uses Josh.ai, you can say, “Josh, show me the front door camera,” and get the feed without reaching for a phone.
Those are not gimmicks. They're what make a security system part of the house instead of one more thing to manage.
Most of the better integrations rely on common methods like ONVIF discovery and RTSP streaming. You don't need to memorize the acronyms, but you do need to know why they matter. They give the rest of the system a reliable way to see the camera feed and use it outside the manufacturer's app.
That's why camera choice matters up front. If the camera only plays nicely with its own cloud app, your integration options narrow quickly. If it supports standard streaming and works cleanly on a managed network, you have far more freedom.
A practical integrated setup might look like this:
The best camera integrations reduce friction. They don't create another dashboard for the homeowner to babysit.
Simple live-view integrations are one thing. Reliable cross-platform behavior is another. Once you want cameras tied into Josh.ai scenes, Lutron lighting logic, distributed video, audio announcements, and network policies, the design has to be deliberate.
One coordinated integrator can help if you're combining cameras with theater, new construction wiring, whole-home audio, outdoor lighting, or lighting control. Home AV Pros handles those categories for homes first, while also supporting projects like restaurants and other commercial environments when the scope calls for integrated AV and security.
In residential work, the core value isn't just getting the feed onto a screen. It's making the system feel native to the home. The camera should respond with the rest of the property, not sit beside it.
A camera that records video but isn't secured on the network is only half-installed. This is the part many DIY jobs skip, and it's the part that matters most after the excitement of day one wears off.
A 2025 report found over 1.2 million unsecured IP cameras online, with 40% in residential settings, largely due to users not changing default credentials. The same source says risk can be reduced by 75% by using cameras with automatic firmware updates and professional setup, according to this camera security risk reference.
That should reshape how you think about setup. Mounting is not the finish line. Security hardening is.
Use a basic checklist:
When a camera isn't showing up, the fix is usually basic. Check link lights, power delivery, cable termination, switch port status, and whether the recorder and camera are on the same expected network. If the camera appears locally but not remotely, review the remote access method before changing anything else.
If the picture cuts in and out, don't assume the camera is bad. In wireless systems, signal quality is often the issue. In wired systems, it's more often cabling, switch configuration, or a network setting changed without understanding what else it affects.
Most “camera failures” turn out to be power, cable, or network decisions made earlier in the install.
A homeowner can absolutely handle a straightforward install. A few PoE cameras, one recorder, one app, one network, and no advanced integrations is realistic for a capable DIYer.
Call a professional when any of these are true:
That same logic applies beyond security. Homes with distributed audio, custom theater rooms, lighting control, outdoor sound, and permanent lighting need planning across the whole property. The same is true for new home builds. Even in restaurant or light commercial work, the network and AV backbone decide whether the system feels solid or fragile. But for homeowners, the priority is usually simpler. You want the system to work every day without asking for attention.
If you want a camera system that fits the house instead of fighting it, Home AV Pros can help plan and install a setup that works with your lighting, networking, audio, theater, and control systems. That includes residential camera installs, new home pre-wire, whole-home automation, home theater, home audio solutions, outdoor lighting and sound, and projects that need clean integration rather than one more standalone app.

Copyright © 2026. Home AV pros. All rights reserved.